|
Impala Carputer Install |
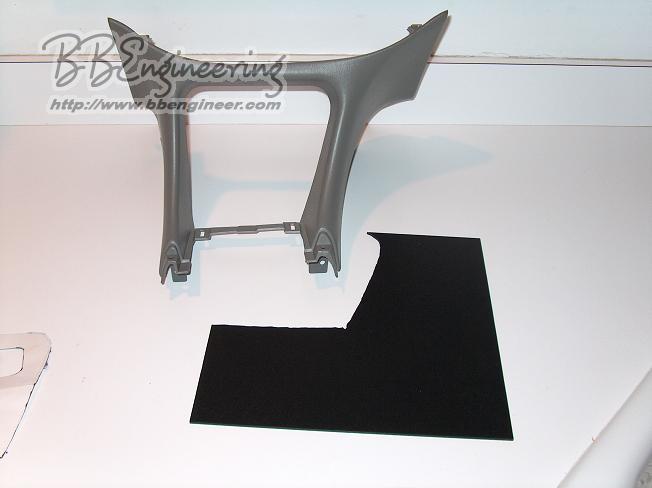
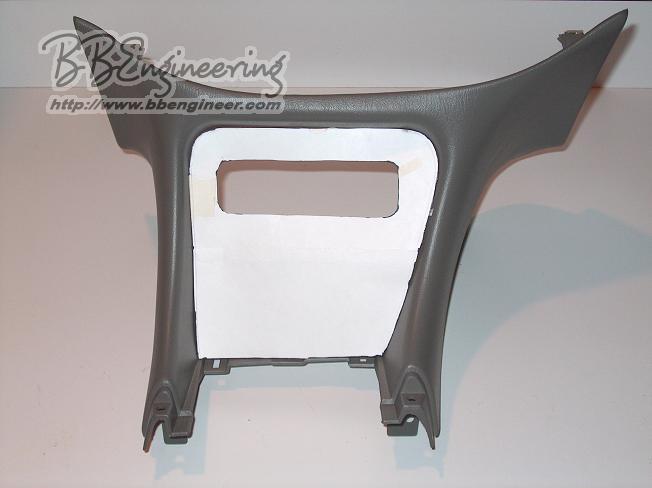
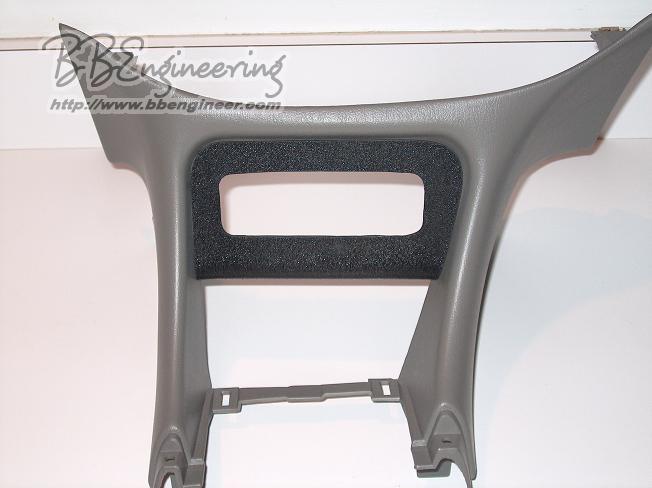
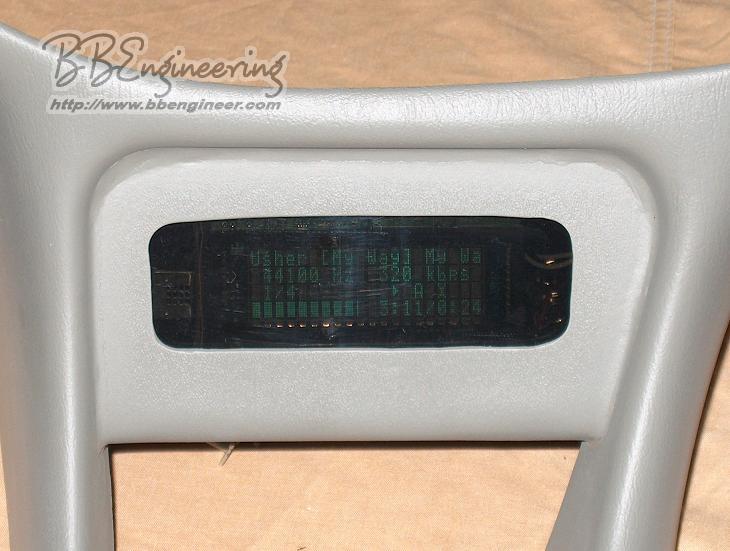
Here are some pictures of the console and the housing I made, before it's molded together
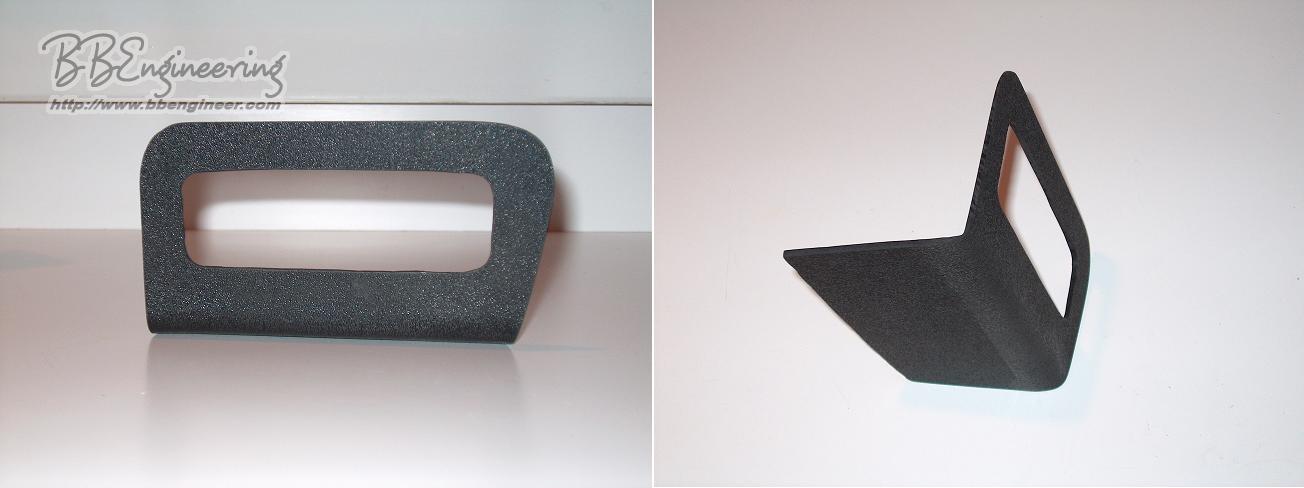
The display bracket was cut
from a sheet of textured ABS plastic using a Jig Saw. Once cut out, the
bottom was bent by clamping the piece in a vice and clamping a length of 1/2"
copper pipe behind it. Using a heat gun, the ABS was softened and rolled
over the pipe. Once cooled, the bend is permanent. The center
window was also cut using a jig saw.
Duplicolor Vinyl & Fabric paint (in Medium Grey) was used to match the interior color. A layer of Krylon clear coat was applied on top to darken the shade and match the gloss of the factory dash.
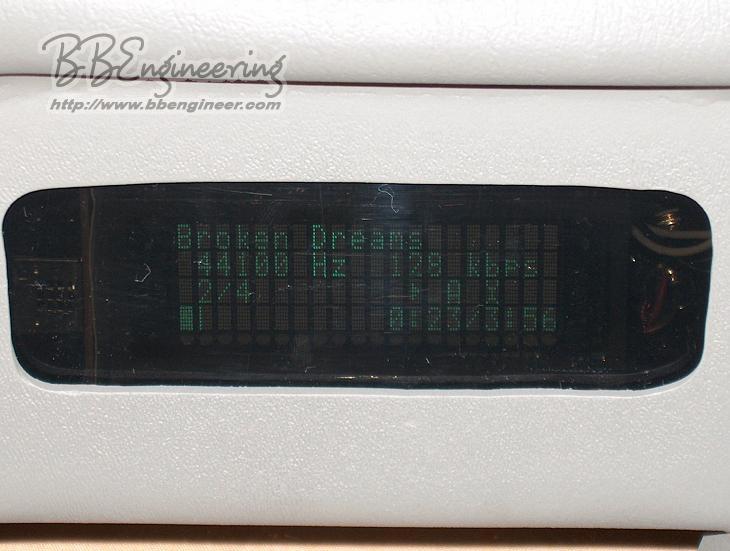
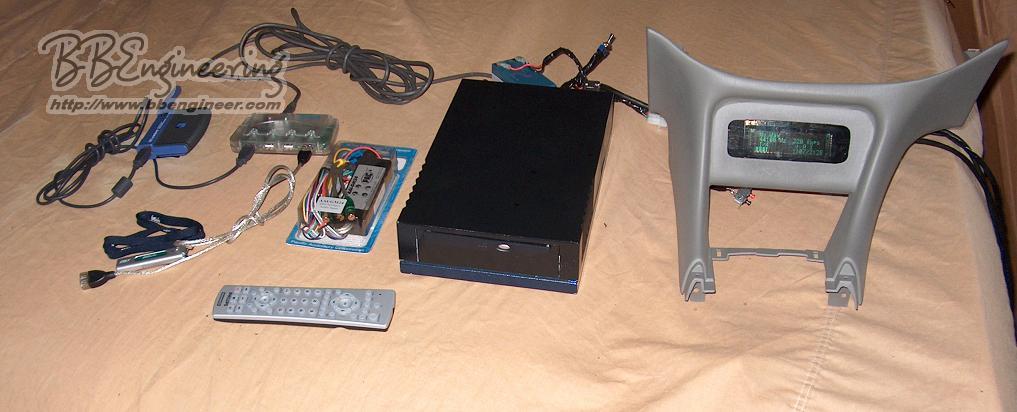
Some pictures of the assembled display and other carputer components
Click Image to Enlarge Click Image to Enlarge
Click Image to Enlarge
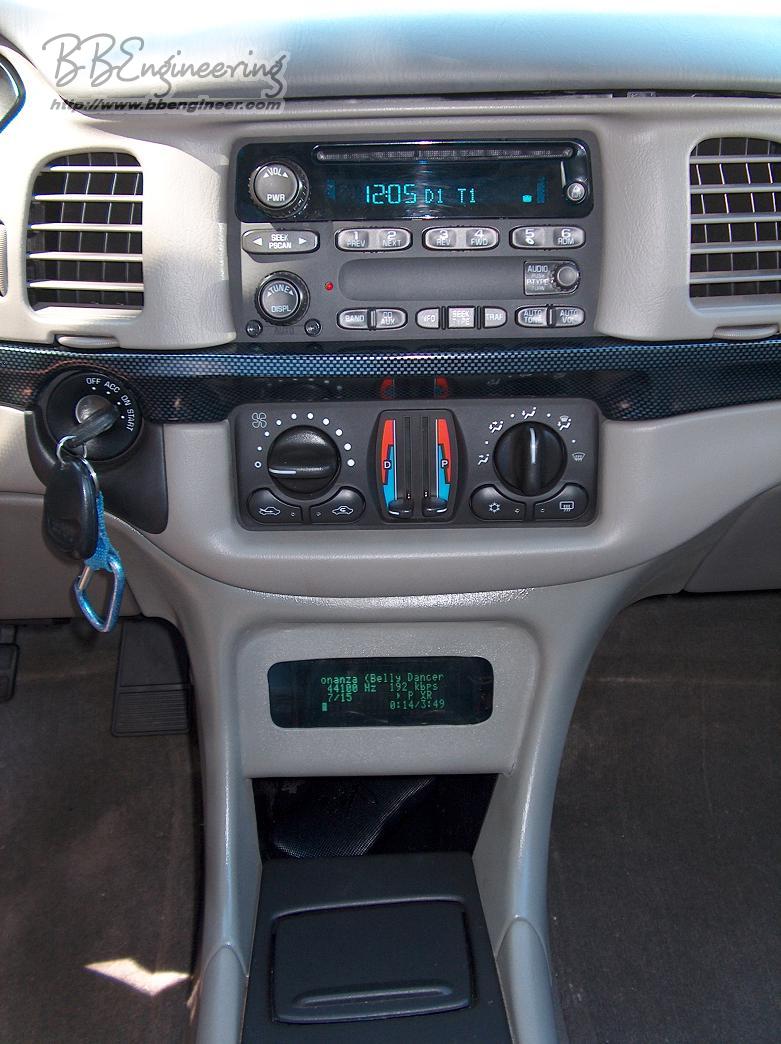
The actual display is a Vacuum Fluorescent Display (VFD) from Matrix Orbital. It connects to the carputer using a serial connection. The details of the carputer itself can be found HERE
The audio is fed into the factory head unit using the PAC AAI-GM24. It appears to the head unit as a CD changer and supplies excellent sound quality.
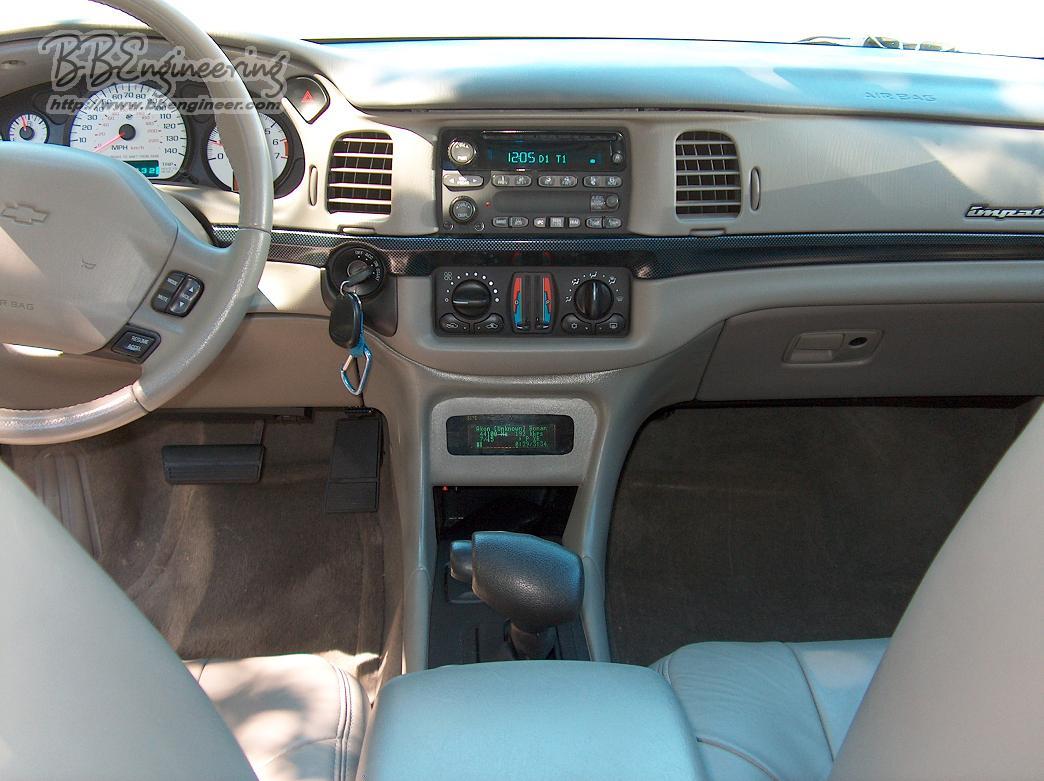
And finally some pictures of the carputer installed
Click Image to Enlarge Click Image to Enlarge
Click Image to Enlarge
I'll update this worth more info and more detailed
directions when I can. Feel free to email me with questions at the email
address below.

